Unity:byte配列からjpg/pngをテクスチャ(Texture)に変換
はじめに
Unity で テクスチャ(Texture) を動的に生成する方法はいくつかあります。Resourceに画像を保存して Resources.Load する方法や、Assetsに画像を保存しておきインスペクターで静的に設定する方法など。今回は byte配列 をテクスチャ(Texture) にする方法を紹介します。

Unityを知らない方は、ぜひ こちらの記事 をご参照ください。
ソースコード
以下にソースコードを示します。
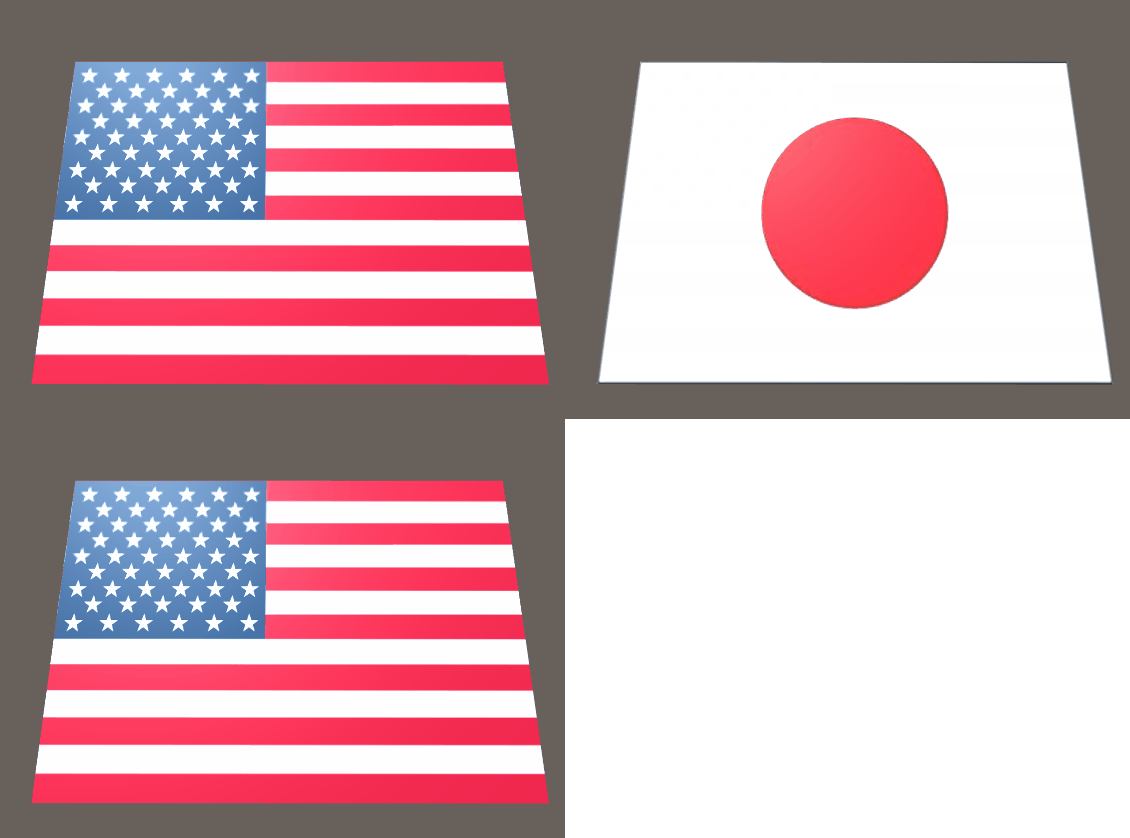
- 3秒毎に、nihon.jpg / amerika.png を切り替えます。
- 上記の画像を byte配列 で読み込みます。
- byte配列で読み込んだデータを テクスチャ(Texture)に変換します。
- マテリアル(material)に設定して画面に反映します。
ネット上の色々なサンプルを読んでいると、height/width を指定していましたが、私が確認したかりぎ「texture.LoadImage(readBinary);」やったタイミングで、height/widthが自動的に設定されるため自力で計算する意味はあまりないかなと思います。
using System.Collections;
using System.Collections.Generic;
using System.IO;
using UnityEngine;

public class BytesTextureLoad : MonoBehaviour
{
    void Update ()
    {
        // 3秒に1度切り替える
        if (((int)Time.realtimeSinceStartup / 3) % 2 == 0)
        {
            var texture = ReadTexture("amerika.png");
            GetComponent<Renderer>().material.mainTexture = texture;
        }
        else
        {
            var texture = ReadTexture("nihon.jpg");
            GetComponent<Renderer>().material.mainTexture = texture;
        }
    }

    Texture ReadTexture(string path)
    {
        byte[] readBinary = ReadFile(path);

        Texture2D texture = new Texture2D(1, 1);
        texture.LoadImage(readBinary);

        return texture;
    }

    byte[] ReadFile(string path)
    {
        FileStream fileStream = new FileStream(path, FileMode.Open, FileAccess.Read);
        BinaryReader bin = new BinaryReader(fileStream);
        byte[] values = bin.ReadBytes((int)bin.BaseStream.Length);

        bin.Close();

        return values;
    }
}
よければ、SNSにシェアをお願いします!
